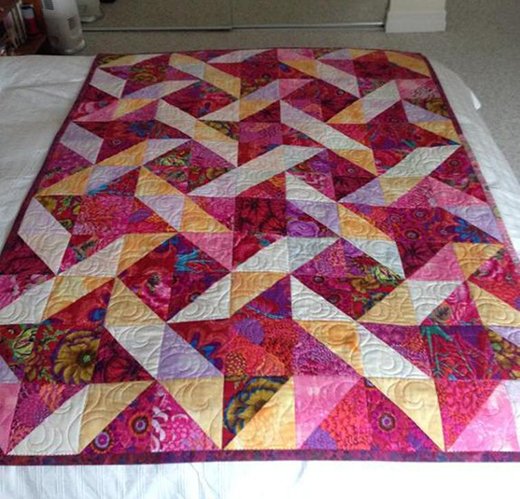
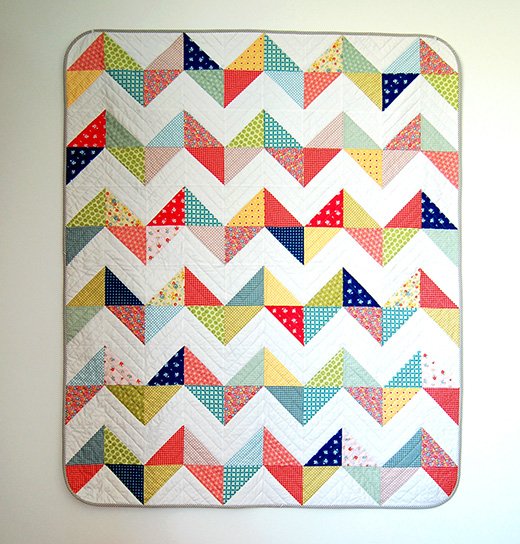
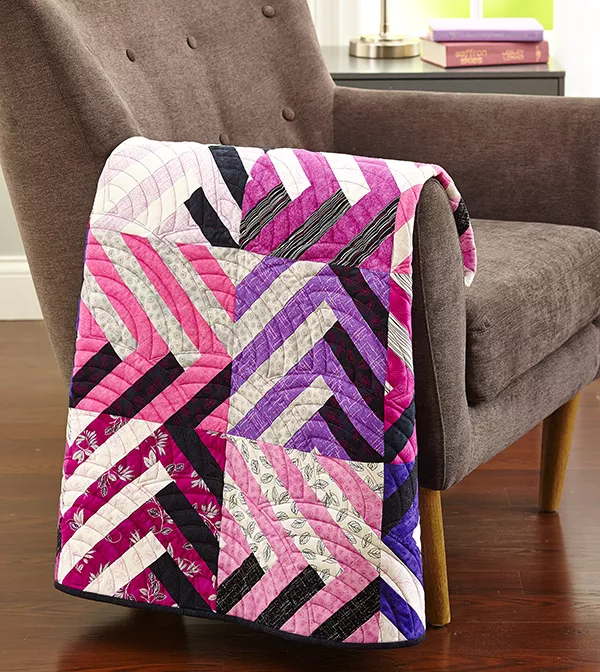
Today I’m super excited to share a new quilting series with you… Your First Quilt! This series is meant for those of you who I hear from all the time who want to get into quilting, but just aren’t sure where to start. This is for you!
If you’re a beginner with no previous sewing skills, fear not! In this absolute beginner’s guide, I’ll walk you through the basics of quilting, from choosing the right materials to completing your first quilt pattern. Quilting is a rewarding craft that allows you to create unique and practical items for your home. My journey into quilting began with a simple desire to make something beautiful and functional. Let’s dive in and explore the wonderful world of quilting together!
Choosing Your First Quilt Pattern
Charm Pack
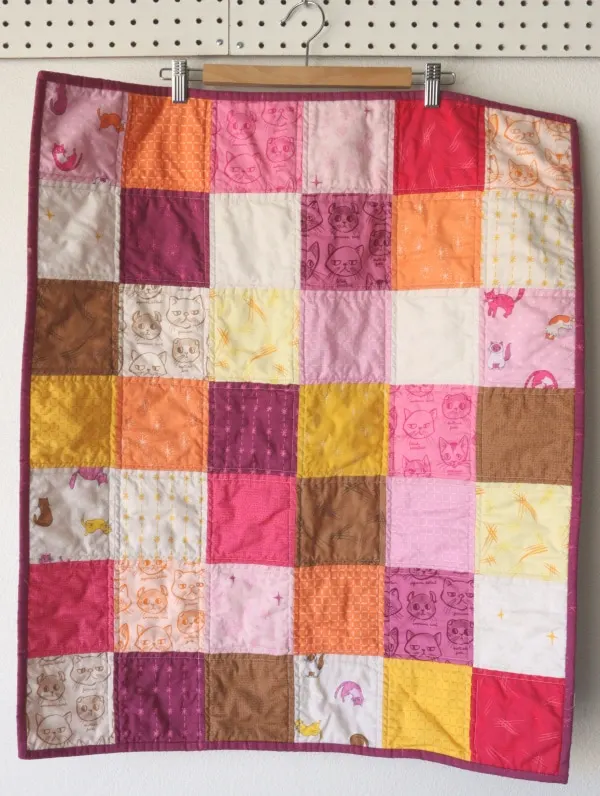
The first thing you need to do is choose a charm pack. A charm pack is a “pre-cut” of 5-inch square pieces of fabric that make it really easy to start sewing. This takes the intimidation out of buying yardage and cutting it yourself, which can be daunting for beginners.
Quilt Layout
Once you have your charm pack selected, it’s time to decide on your layout. Find a clean spot on the floor or table to play around with your layout. For a 42-piece charm pack, I’d recommend 6 squares wide by 7 squares long.
Snap a Photo of Your Quilt Pattern: One of my best tips is to take a photo of your layout before the next step. That way, if your pesky cat knocks the stacks off your sewing table, you won’t have to redo it.
Make Stacks
Now, this is my method for making stacks to take to the sewing machine. Make and label your stacks so that you don’t have to get up and down from your machine. This helps keep everything organized.

Full Tutorial: Click Here
Creating Your Quilt
Create Rows
Using a 1/4 inch seam allowance, sew down the right side of your first two squares. They should be right sides together. When you get to the end of each pair, chain piece and add in the next pair. That way you don’t need to cut threads. You will do this for all your stacks and then take the top pair from each stack and sew them together to create the row.
Once all of the rows are complete, it’s time to sew the rows together to make the quilt top.
Nesting Seams
To get those perfect patchwork corners, we need to “nest our seams.” Take the seams for either the top or bottom row and finger press or press with an iron all in the same direction. Then take the next row and press those seams in the opposite direction. This allows the seams to “lock” into place for those nice corners.
Iron Your Seams
Once you are done attaching all of your rows, take it over to the ironing board and press your seams to make them flat and easy for the next step, which is basting.
Basting Your Quilt
Supplies for Basting
- Completed quilt top
- Batting
- Backing fabric
- Tape (painter’s or masking)
- Safety pins
- Large, clean hard surface
Step 1: Press your quilt top and measure it. The backing and batting need to be 4 inches larger all the way around the quilt. For example, if your quilt measures 27 x 31.5 inches, the backing and batting should be 35 x 39.5 inches.
Step 2: Tape the pressed backing to your hard surface with the painter’s tape, making sure the “wrong” side is facing up.
Step 3: Place the batting on top of the backing fabric, smoothing out all the wrinkles from the center outward.
Step 4: Place the pressed quilt top on top of the backing and batting with the pretty side facing up. Smooth out from the center towards the edges.
Step 5: Pin the layers together using large safety pins, placing one per square or about 4-5 inches apart. Work from the center outward. Once done, remove the tape and your first quilt is ready to quilt!
Quilting Your Quilt
Supplies to Consider
- Walking Foot: Make sure it fits your machine.
- Thread: I recommend Aurifil 100% cotton 50wt thread, but other good brands include Gutermann, Mettler, Superior Threads, and Wonderfil.
- Needle: Use an 80/12 or 90/14 needle for Aurifil 50wt thread.
- Machingers: These are helpful for your second or third quilt.
This is my favorite way to teach beginners how to quilt. I use an echo quilting technique where you use the presser foot to follow the seam line and make a new stitch. This method is forgiving, has a nice drape, and is great for beginners.
Finishing Your Quilt
Squaring Up and Making Binding
We will learn how to trim your quilt so that it is straight and square. We will also learn how to determine how much fabric you need to make your binding and get it ready to attach. These principles are useful for all of your future quilting projects.
Tools You’ll Need:
- 6×24 Ruler
- Rotary Cutter
- Cutting mat
Congratulations on completing your first quilt pattern! Reflect on what you’ve learned and celebrate your progress. Quilting is a journey, and each project will bring new challenges and rewards. Keep practicing, experimenting, and enjoying the creative process. Happy quilting!


