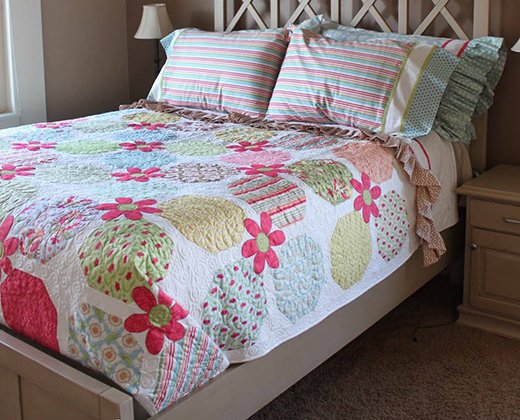
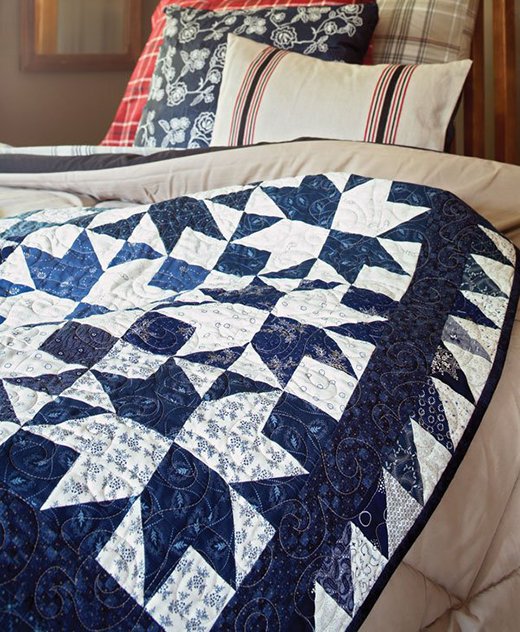
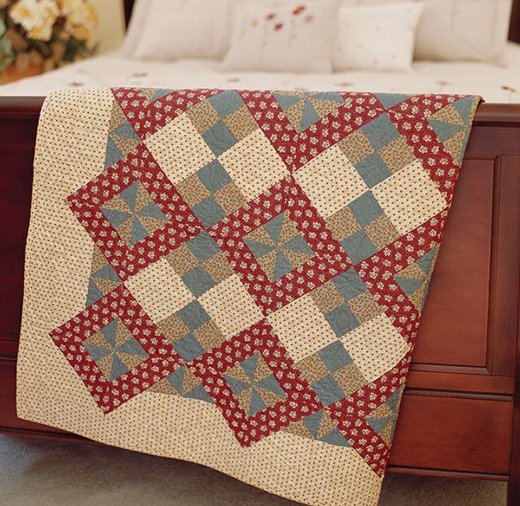
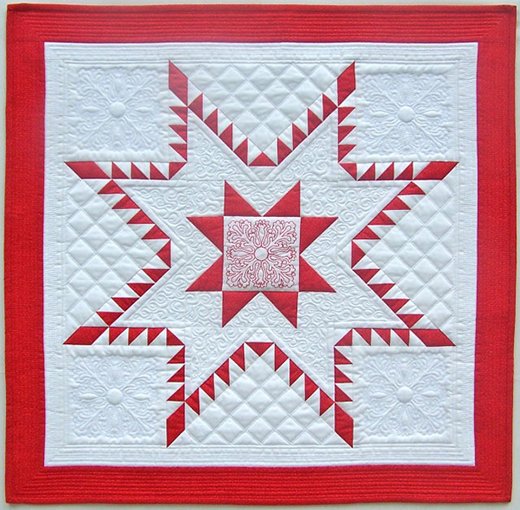
As a quilter, I’ve always been drawn to vibrant colors and intricate patterns that tell a story. This passion for quilting started years ago when I stumbled upon a charming quilt shop while traveling through a small town. It was there that I first discovered Verna’s Quilt, a beautiful project that instantly captivated me with its playful prints and harmonious design. This quilt, designed by Kathleen Whiting, Whitnee North, and Natalia Bonner, has since become one of my favorite projects to share and create with others.
Verna’s Quilt is not just a bedspread; it is a labor of love that showcases the joy of piecing together various fabrics to create something truly unique. Today, I want to take you on a step-by-step journey through the process of making Verna’s Quilt. Whether you’re an experienced quilter or a beginner looking for a delightful project, this quilt is sure to bring a smile to your face and warmth to your home.
Exploring the Fabric Symphony
One of the most enchanting aspects of Verna’s Quilt is its vibrant use of fabric. The combination of Verna Layer Cake, Verna Fat Quarters, and Bella Solids Bleached White creates a symphony of colors that is both refreshing and timeless. Each piece of fabric tells its own story, contributing to the overall harmony of the quilt. The process of selecting and preparing these fabrics is crucial to the success of the project, and it’s where the magic truly begins.
The Art of Snowballing Blocks
A unique feature of Verna’s Quilt is the snowballing technique used for the blocks. This method involves adding small squares to the corners of larger squares and stitching diagonally to create a charming effect. The result is a quilt that looks intricate and complex, yet is straightforward to assemble. This technique adds a playful twist to the design, making each block a delightful surprise.

Full Pattern: Click Here
Materials and Preparation
Materials Needed
- 1 Verna Layer Cake
- 3 Verna Fat Quarters
- 4 Yards Bella Solids Bleached White
- 1/3 Yard Verna Sprout Budding Green
- 1 Yard Verna Sprout Budding Pink
- 2 Yards Verna Clover Earth
From your three fat quarters, you will cut 6, 10″ squares.
From your Bella Solids white material, you will cut:
- 32 strips, each 2″ x Width of Fabric (WOF)
- 15 strips, each 3″ x WOF
Cut the 3″ strips into 196, 3″ blocks. Draw a diagonal line across each 3″ block.
Getting Started: Essential Tips
Before you begin, make sure to press all your fabrics to remove any wrinkles. This will ensure that your cuts are precise and your seams are straight. Also, organize your fabric pieces and tools in a well-lit workspace. Having everything in place before you start will make the quilting process smoother and more enjoyable.
Step-by-Step Instructions
Step 1: Cutting the Fabric
- Prepare Your Layer Cake and Fat Quarters: Cut your three fat quarters into 6, 10″ squares. From the Bella Solids white fabric, cut 32 strips that are 2″ wide, and 15 strips that are 3″ wide. Then, cut these 3″ strips into 196, 3″ squares. Draw a diagonal line across each 3″ square.
- Snowball the Blocks: Take your 10″ squares and place a 3″ square on each corner, aligning the diagonal line with the corner. Stitch across the diagonal line and trim the excess fabric from the corners, leaving a 1/4″ seam allowance. Press the corners.
- Assembling the Blocks: Lay out your snowballed blocks according to your desired pattern. Use the 2″ white strips to sew the blocks together in rows, then sew the rows together to form the quilt top.
Step 2: Adding Borders and Sashing
- Creating the Borders: Cut the remaining white strips into 42, 10″ pieces. Use these strips to sew the blocks together, following your layout pattern. Add a 10″ border around the quilt top.
- Constructing the Top Section: Add a 1″ pink strip (finished at 0.5″), followed by a 3″ white strip (cut to 3.5″), and another 1″ pink strip.
- Making the Ruffle: Cut 6 strips of 12″ x WOF. Sew these strips together end-to-end. Fold the long strip in half lengthwise and press. Using the longest stitch setting on your machine, stitch two rows approximately 1/4″ apart. Pull the bobbin threads to ruffle the fabric until it matches the width of the quilt top. Attach the ruffle to the bottom of the upper section and then to the top of the bottom section.
Step 3: Final Assembly
- Joining Sections: Sew the upper and lower sections together, ensuring all seams are aligned.
- Quilting and Binding: Quilt as desired. Bind the edges of the quilt to finish.
Additional Tips
- Appliqué Technique: Appliqué the green centers to the pink flowers first before adding them to the smallest sections. This makes the process more manageable and ensures precise placement.
- Pressing: Always press your seams open or to the side, as instructed, to reduce bulk and create a smoother quilt top.
- Consistent Stitching: Maintain a consistent stitch length and tension throughout the project for a professional finish.
Creating Verna’s Quilt is a rewarding experience that combines creativity with craftsmanship. The vibrant colors and playful design bring joy to every step of the process, resulting in a quilt that is both beautiful and functional. As you complete this project, take pride in the skills you’ve honed and the beautiful quilt you’ve created. Happy quilting!


