Hi there, fellow quilting enthusiasts!
I’m Julie, and I have a story to share with you about my latest obsession—the Honeymoon quilt block!
I remember the day I stumbled upon a picture of this charming star block while scrolling through my feed.
Instantly captivated, I couldn’t resist diving into this colorful sewing adventure.
So, if you’re ready to discover how to make your quilt sparkle with joy, let’s embark on this journey together.
As I pieced together the Honeymoon quilt block, I was reminded of all those lovely hot summer nights spent soaking up the magic of starry skies.
Quilting has this amazing way of connecting us to those precious memories, adding warmth to our homes, and imparting love through each stitch.
Are you ready to create your own version of this delightful quilt block?
Let’s get started!
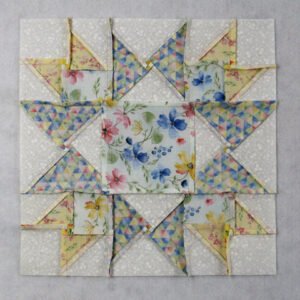
Bringing the Honeymoon Quilt Block to Life
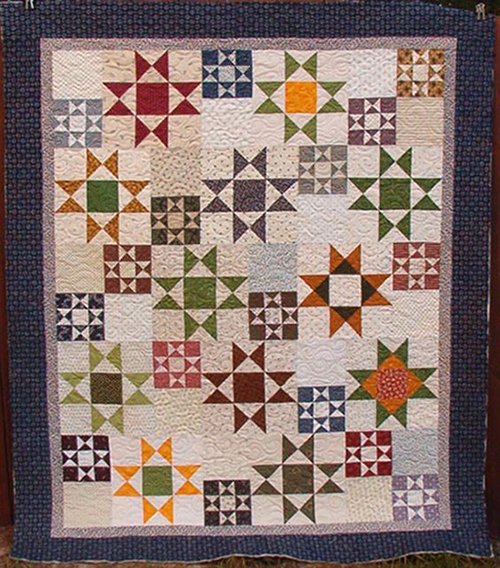
The Honeymoon quilt block is a delightful play on geometric shapes that encapsulates whimsy and simplicity.
It’s designed with half-square triangles, hourglass units, and cute squares, making it surprisingly fast to assemble.
Plus, it’s an excellent choice for beginners or seasoned quilters looking to whip up a few beautiful blocks for a project.
Doesn’t that sound enchanting?
Before we get into the nitty-gritty of fabric cutting and sewing, let’s appreciate a bit about how inspiration can fuel creativity.
I encourage you to think about your color palettes and fabric choices.
Whether you’re a fan of bold, vibrant hues or softer pastels, the Honeymoon quilt block can be customized to reflect your own unique style.
Let those creative juices flow!
Choosing the Right Fabrics
Now, every great project begins with carefully selecting materials.
For a 12″ finished Honeymoon block, you will need:
- Light/White: 2 – 5.5″ squares, 4 – 3″ squares, and 4 – 2.5″ squares
- Medium 1/Floral: 1 – 4.5″ square and 4 – 2.5″ squares
- Medium 2/Yellow: 4 – 3″ squares
- Dark/Triangles: 2 – 5.5″ squares
Gathering these materials is the perfect excuse to visit your local fabric store or dig into your existing stash!
I always find a new surprising treasure hiding in my fabric collection when I start a new quilt block.
Sometimes it’s the fabrics that spark joy and direct the color palette, and other times it’s merely the excitement of the creative process.
Preparing to Sew Your Honeymoon Quilt Block
Even before the sewing begins, take a moment to prepare.
Ensure your workspace is tidy, and you’re equipped with your favorite tools—sharp scissors, a cutting mat, and a reliable sewing machine.
You’ll thank yourself later!
Make sure to pre-wash your fabrics; this helps to avoid surprises down the line.
As you set up your station for the Honeymoon quilt block, consider practicing some of the techniques involved, like half-square triangles and hourglass units.
This groundwork will help you breeze through assembly and allow creativity to flourish as you dive into the project.
Now that we have our materials gathered and a plan in place, let’s move on to the step-by-step instructions for creating this joyous Honeymoon quilt block.
Full Pattern: Click Here
Let’s Get to Work!
Alright, my friends!
Below are the step-by-step instructions to guide you through sewing the Honeymoon quilt block.
Trust me, following them will lead you to a delightful creation.
- Step 1: Using the four Light/White 3″ squares and the four Medium 2/Yellow squares, sew together eight Half Square Triangle units.
Trim/ square them to 2.5″. - Step 2: Now, let’s move onto making four Hourglass units using the two Light/White 5.5″ squares and the two Dark/Triangles 5.5″ squares and trim them to 4.5″.
- Step 3: Arrange a Light/White 2.5″ square, two Half Square Triangle units, and one Medium 1/Floral 2.5″ square for your Corner units.
- Step 4: Sew these together like a simple Four Patch block.
- Step 5: Finish the Corner units by sewing two rows together and pressing the seams.
Repeat for a total of four Corner units. - Step 6: Arrange your Corner units, Hourglass units, and Medium 1/Floral 4.5″ square in the specified layout.
- Step 7: Assemble everything into three rows.
- Step 8: Press the seam allowances toward the Hourglass units.
- Step 9: Sew together the three rows to complete your block.
- Step 10: Finally, press the seam allowances toward the outside of the block.
Voila!
More Tips for Quilt Success
As you embark on your quilting journey, remember to take small breaks to admire your work after finishing a few steps.
This isn’t just about reaching the finish line; it’s an entire journey of creativity!
Don’t rush; enjoy each stitch of the Honeymoon quilt block.
Additionally, don’t hesitate to play around with your layout.
The placement of the Hourglass units can create stunning variations.
One small shift can turn it into a masterpiece!
It’s all about creativity and allowing yourself to experiment.
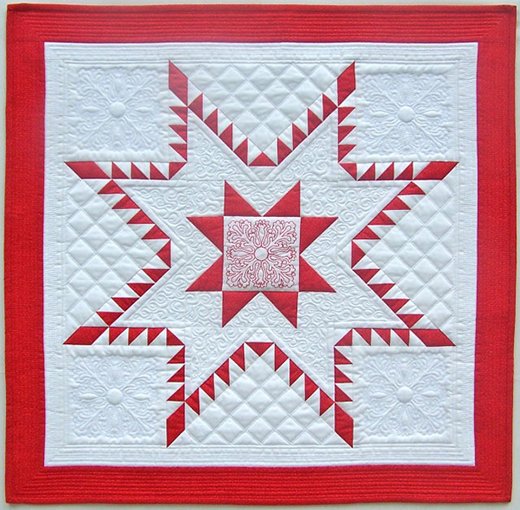
Design Considerations for the Honeymoon Block
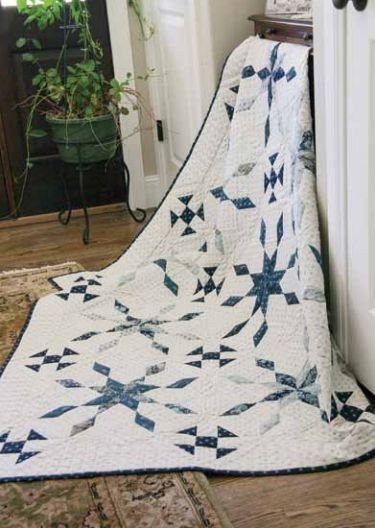
Once you’ve mastered the Honeymoon quilt block, consider taking it a step further.
You can create quilts by repeating the block in different sizes or colors, or even mixing it with other blocks!
Experimentation is key, and with the Honeymoon quilt block, there’s plenty of room for creative exploration.
Also, consider using various fabric patterns and textures that resonate with your personal style.
This quilt block is versatile, allowing you to experiment while keeping it fun and breezy!
Celebrate Your Quilting Journey!
As we come to a close, take a moment to celebrate what you’ve created.
Don’t forget to enjoy the pleasure of making the Honeymoon quilt block and cherish the souvenirs of your sewing adventure!
Remember, every stitch tells a story and adds a sprinkle of magic to your piece.
If you’re eager for more sewing inspiration, I have tons of amazing content waiting for you to explore!
Feel free to dive into other exciting projects by discovering this incredible piece you can check out right here! I can’t wait to see what quilt blocks you’ll create!