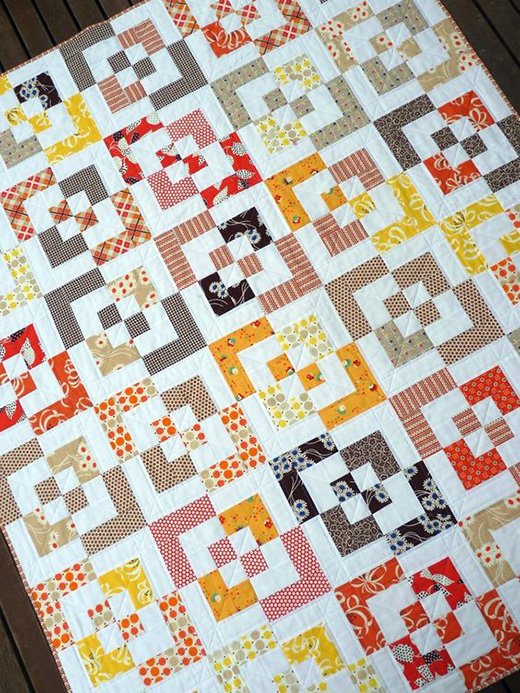
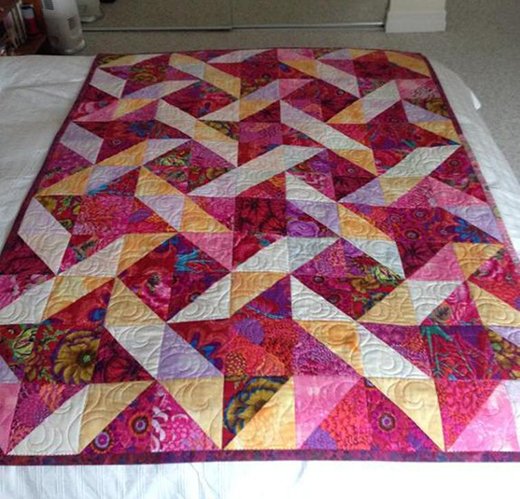
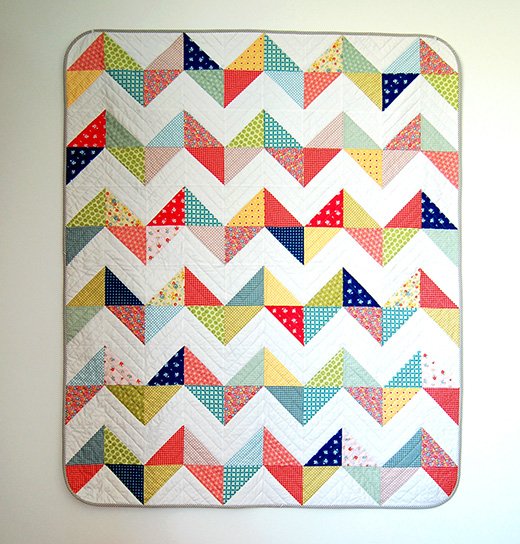
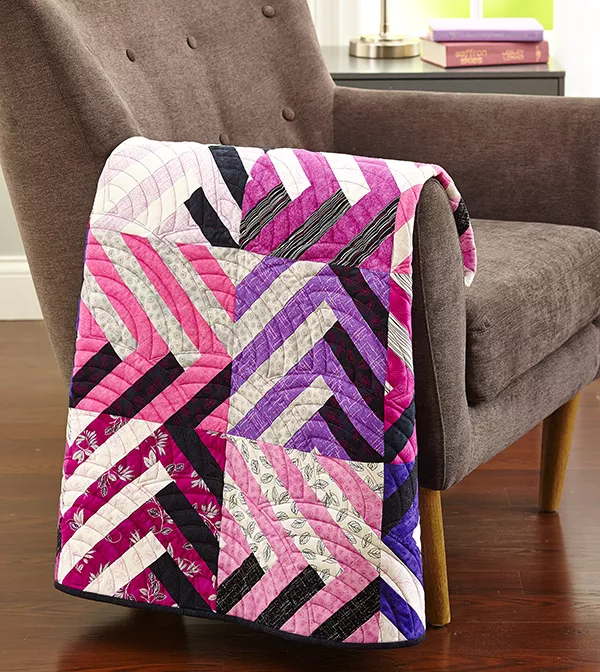
My quilting journey has been full of discoveries, and one of the most delightful has been the Bento Box Quilt Block. This pattern, with its simplicity and versatility, quickly became a favorite. I remember the first time I saw a finished Bento Box quilt at a local craft fair. The intricate-looking design, made up of straightforward blocks, caught my eye and sparked a desire to recreate it.
The beauty of the Bento Box Quilt Block lies in its ability to use a variety of fabrics to create a stunning quilt that looks far more complicated than it is. This project not only allowed me to play with different colors and patterns but also helped me master the art of strip piecing, a technique that significantly speeds up the quilting process. Let’s explore this delightful pattern and learn how to create a quilt that’s both visually appealing and fun to make.
The Charm of the Bento Box: Combining Simplicity and Style
The Bento Box Quilt Block pattern is perfect for quilters of all levels. Its design, inspired by the neat and compartmentalized Japanese lunch boxes, features a series of nested squares that create a striking visual effect. This block uses contrasting fabrics to highlight its unique layout, making it an excellent choice for using up scraps or coordinating new fabrics. Let’s gather our materials and prepare to embark on this quilting adventure.
Materials: Essential Tools and Fabrics for Your Bento Box Quilt Block
To create your own Bento Box Quilt Block, you’ll need the following materials:
- Fabric: Choose three fabrics – one light, one dark cool shade (like blue), and one dark warm shade (like magenta).
- Light Fabric:
- (2) 2 1/2 inches by 5 1/4 inches strips
- (4) 2 1/2 inches by 4 1/2 inches strips
- (2) 2 1/2 inches by 6 1/2 inches strips
- Dark Cool Shaded Fabric (Blue):
- (1) 2 1/2 inches by 5 1/4 inches strips
- (2) 2 1/2 inches by 4 1/2 inches strips
- (2) 2 1/2 inches by 6 1/2 inches strips
- Dark Warm Shaded Fabric (Magenta):
- (1) 2 1/2 inches by 5 1/4 inches strips
- (2) 2 1/2 inches by 4 1/2 inches strips
- Light Fabric:
- Tools:
- Rotary cutter and mat
- Quilting ruler
- Sewing machine with a 1/4-inch foot
- Thread in coordinating colors
- Pins or clips
- Iron and ironing board

Full Pattern: Click Here
Preparing to Quilt: Tips for Success
Before starting your quilt block, it’s crucial to prepare your fabrics and tools. Wash and press your fabrics to remove any sizing and ensure they’re pre-shrunk. Accurate cutting is essential, so use a sharp rotary cutter and a clear quilting ruler. Lay out your fabric pieces on a design board to visualize the block’s layout and make any necessary adjustments before sewing. With everything in place, you’re ready to start piecing your Bento Box Quilt Block.
Step-by-Step Instructions: Assembling the Bento Box Quilt Block
- Cutting the Fabric:
- From your light fabric, cut:
- (2) 2 1/2 inches by 5 1/4 inches strips
- (4) 2 1/2 inches by 4 1/2 inches strips
- (2) 2 1/2 inches by 6 1/2 inches strips
- From your dark cool shaded fabric (blue), cut:
- (1) 2 1/2 inches by 5 1/4 inches strips
- (2) 2 1/2 inches by 4 1/2 inches strips
- (2) 2 1/2 inches by 6 1/2 inches strips
- From your dark warm shaded fabric (magenta), cut:
- (1) 2 1/2 inches by 5 1/4 inches strips
- (2) 2 1/2 inches by 4 1/2 inches strips
- From your light fabric, cut:
- Assembling the Magenta Corners:
- Sew a light-colored strip (2 1/2 inches by 5 1/4 inches) lengthwise to a magenta strip of the same size. Press the seam allowance towards the magenta strip.
- Square up one end of the strip set and cut two 2 1/2-inch segments from the squared-up end.
- Sew a 2 1/2-inch by 4 1/2-inch magenta rectangle to the top of one segment, aligning the magenta portion to the left.
- Press the seam allowance towards the magenta rectangle.
- Sew a 2 1/2-inch by 4 1/2-inch light strip vertically to the left of the unit. Press the seam allowance towards the magenta areas.
- Sew a 2 1/2-inch by 6 1/2-inch light strip to the top of the unit. Press the seam allowance towards the magenta areas.
- Repeat these steps to create a second identical block corner.
- Assembling the Blue Corners:
- Sew a light-colored strip (2 1/2 inches by 5 1/4 inches) lengthwise to a blue strip of the same size. Press the seam allowance towards the blue strip.
- Square up one end of the strip set and cut two 2 1/2-inch segments from the squared-up end.
- Sew a 2 1/2-inch by 4 1/2-inch light rectangle to the top of one segment, orienting the blue portion in the lower left.
- Press the seam allowance towards the blue and light-colored segment.
- Sew a 2 1/2-inch by 4 1/2-inch blue rectangle to the right of the segment. Press the seam allowance towards the blue rectangle.
- Sew a 2 1/2-inch by 6 1/2-inch blue strip to the top of the unit. Press the seam allowance towards the blue strip.
- Repeat these steps to create a second identical block corner.
- Assembling the Quilt Block:
- Arrange the four block corners into two horizontal rows.
- Sew the two corners in each row together. Press the seam allowances in adjoining rows in opposite directions.
- Join the rows to complete the block, pressing the final seam allowances in one direction. The finished block should measure 12 1/2 inches by 12 1/2 inches.
Additional Tips: Perfecting Your Bento Box Quilt Block
- Seam Allowances: Consistent 1/4-inch seam allowances are crucial for accuracy.
- Pressing: Press seams carefully to avoid bulk and ensure a flat block.
- Fabric Selection: Experiment with different color combinations to create a dynamic and personalized quilt.
- Chain Piecing: Use chain piecing to speed up the process and maintain consistency in your blocks.
Creating the Bento Box Quilt Block is a delightful experience that combines simplicity with creativity. As you admire your finished blocks, you’ll appreciate the thoughtful design and the vibrant interplay of colors. Whether you’re making a full quilt or just a few blocks, this pattern offers endless possibilities for customization and artistic expression. Enjoy the process and the beautiful results of your quilting journey!


