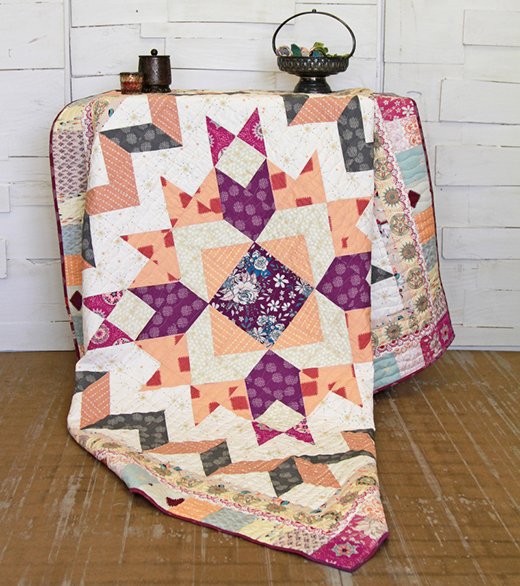
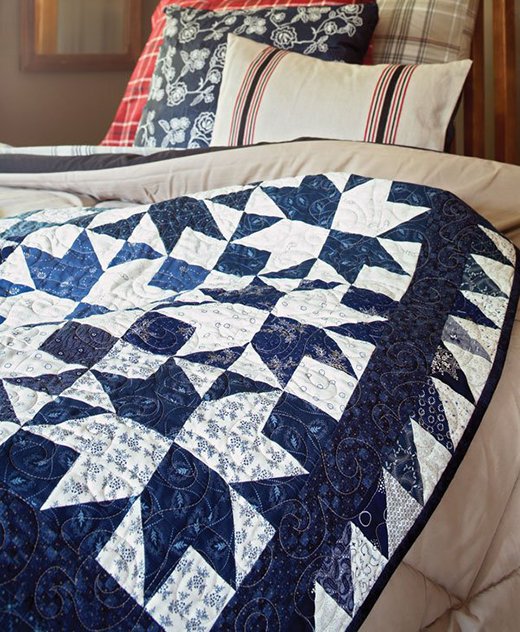
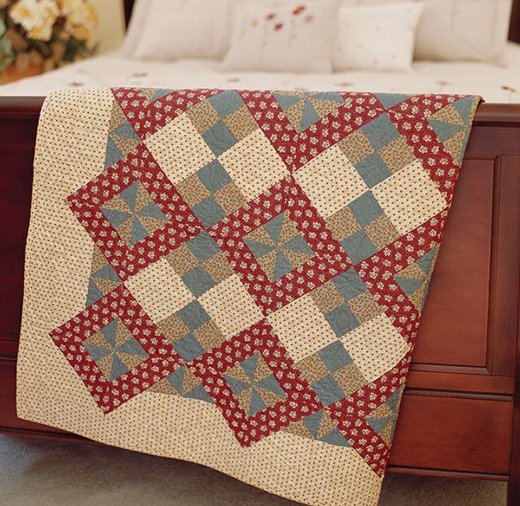
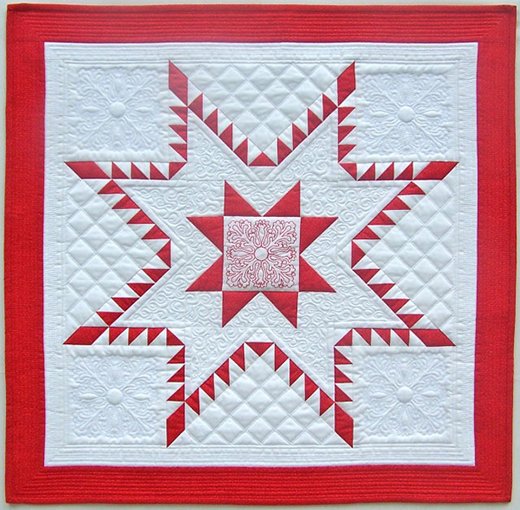
Quilting has always been more than just a hobby for me; it’s a passion that brings out my creative side and provides a sense of tranquility. The journey from selecting fabrics to piecing them together into a beautiful quilt is immensely satisfying. Today, I’m thrilled to share a special project featuring the stunning Soulful fabric collection by Maureen Cracknell. This free pattern for the Soulful Mandala Harmony Quilt is designed to inspire and bring joy to your quilting experience.
The Soulful Charm of Mandala Harmony
The Soulful Mandala Harmony Quilt is a symphony of vibrant colors and intricate patterns, perfect for adding a touch of warmth and elegance to any space. The fabric collection by Maureen Cracknell, featuring designs like Mandala Harmony Vivid and Grateful Joy Orchid, creates a quilt that is both visually stunning and deeply comforting. This project is ideal for quilters who appreciate the beauty of detailed designs and harmonious color palettes.
Materials You Will Need
Before we begin, let’s gather all the necessary materials for this delightful project. Here’s a detailed list:
Fabric Requirements
- Fabric A (SOU-3639): ⅜ yard
- Fabric B (SOU-2633): ⅜ yard
- Fabric C (SOU-2634): ⅜ yard
- Fabric D (SOU-3635): ⅜ yard
- Fabric E (SOU-3637): ⅜ yard
- Fabric F (SOU-2635): ⅜ yard
- Fabric G (SOU-3632): ⅜ yard
- Fabric H (SOU-2632): ⅜ yard
- Fabric I (SOU-2630): ⅓ yard
- Fabric J (SOU-3634): ⅓ yard
- Fabric K (SOU-2631): ⅓ yard
- Fabric L (SOU-2640): ⅓ yard
- Fabric M (SOU-2636): ½ yard
- Fabric N (SOU-2639): ½ yard
- Fabric O (SOU-3631): ⅞ yard
- Fabric P (SOU-3638): ⅝ yard
- Fabric Q (SOU-3630): ½ yard
- Fabric R (SOU-2638): ⅞ yard
- Fabric S (SOU-3633): 2 yards
- Backing Fabric: 4 yards
- Binding Fabric: SOU-3638 (included in fabric R)
Cutting Directions
- Seam Allowance: Use a consistent ¼” seam allowance throughout the project.
- WOF: Width of fabric.
Getting Started: Tips and Preparations
Before diving into the quilting process, here are some preparatory steps and tips to ensure a smooth and enjoyable experience:
- Fabric Preparation: If desired, wash and iron your fabrics before starting to cut.
- Accurate Cutting: Precision is key. Ensure all pieces are cut accurately to make the assembly easier.
- Organize Fabric Pieces: Keep your cut pieces organized by fabric type and size to streamline the sewing process.

Full Pattern: Click Here
Step-by-Step Instructions
Now, let’s get into the detailed steps to create your Soulful Mandala Harmony Quilt.
Cutting the Fabric
- Cutting Squares:
- From Fabric S, L, R, and O, cut 4-⅞” squares. Draw a diagonal line on the wrong side of each square.
- Follow the HST Pairing Chart to pair marked 4-⅞” squares with other 4-⅞” squares.
- Sew a ¼” seam on each side of the drawn line, cut apart on the line, open, and press to make HST units. Make a total of 116 HST units as per the chart.
- Sub-Cutting Strips:
- From Fabrics A, B, C, D, E, F, G: Cut one 4” x WOF strip and sub-cut into eight 4” squares.
- From Fabric H: Cut four 4-½” squares.
- From Fabric I: Cut four 4-⅞” squares and four 4” squares.
- From Fabric J: Cut twelve 4-⅞” squares.
- From Fabric K: Cut four 4-⅞” squares and eight 4” squares.
- From Fabric L: Cut eight 4-⅞” squares.
- From Fabric M: Cut four 1-½” x 24 ½” strips and four 1-½” x 25 ½” strips for inner borders.
- From Fabric N: Cut four 1-½” x 27 ½” strips and four 1-½” x 28 ½” strips for outer borders.
- From Fabric O: Cut twenty 4-⅞” squares.
- From Fabric P: Cut twenty 4-⅞” squares.
- From Fabric Q: Cut four 2-½” x 25 ½” strips and four 2-½” x 27 ½” strips for middle borders.
- From Fabric R: Cut four 4-⅞” squares, four 4-½” squares, and seven 2-½” x 42” strips for binding.
- From Fabric S: Cut forty-four 4-⅞” squares and sixteen 4-½” squares.
Constructing the Quilt Top
- Sewing HST Units:
- Referring to the Quilt Assembly Diagram, sew HST units and 4-½” squares into 12 rows of 12 HST units/squares each. Join the rows.
- Assembling Borders:
- For the inner border: Sew the four 1-½” x 24 ½” strips horizontally and four 1-½” x 25 ½” strips vertically.
- For the middle border: Sew the four 2-½” x 25 ½” strips horizontally and four 2-½” x 27 ½” strips vertically.
- For the outer border: Sew the four 1-½” x 27 ½” strips horizontally and four 1-½” x 28 ½” strips vertically.
- Top and Bottom Borders:
- Sew sixteen 4” squares in the order specified in Diagram 9 for the top and bottom borders.
- Sew eighteen 4” squares in the order specified in Diagram 10 for the left and right borders.
Finishing the Quilt
- Quilting:
- Place the backing fabric wrong side up, then the batting, and finally the quilt top right side up. Smooth out wrinkles and pin all layers together.
- Quilt as desired, starting from the center and working towards the corners.
- Binding:
- Sew the binding strips together to make a final strip 250″ long. Attach the binding to the quilt, mitering the corners as shown in Diagrams B1-B3.
- Turn the binding to the back of the quilt and stitch by hand using a blind stitch.
Additional Tips
- Pressing: Press all seams open for a flat, professional finish.
- Quilting Motifs: Choose quilting motifs that complement the intricate patterns of the Soulful fabric collection.
- Binding Corners: Take your time with binding corners to ensure they are neat and crisp.
Bringing the Mandala Harmony Quilt to Life
Creating the Mandala Harmony Quilt is an intricate process that brings together various elements to form a cohesive and stunning piece. The key to mastering this quilt lies in the precise construction and thoughtful arrangement of the Half-Square Triangle (HST) units. As you piece together the vibrant fabrics from the Soulful collection, you’ll see the Mandala Harmony Quilt come to life in a burst of color and design.
Assembling the HST Units
The foundation of the Mandala Harmony Quilt is the HST units. Here’s how to assemble them with precision:
- Drawing and Pairing: Begin by drawing a diagonal line on the wrong side of each 4-⅞” square from fabrics S, L, R, and O. Pair these marked squares right sides together with corresponding squares from the HST Pairing Chart.
- Sewing and Cutting: Sew a ¼” seam on each side of the drawn line. Cut apart on the line to create two HST units. Open and press the seams flat. This step is crucial in ensuring that the Mandala Harmony Quilt’s design is sharp and clean.
- Trimming: Trim each HST unit to the correct size to maintain uniformity throughout the quilt. Accurate trimming will help your Mandala Harmony Quilt pieces fit together perfectly.
By carefully constructing these units, you set the stage for a quilt that showcases the intricate patterns and harmonious color combinations of the Soulful fabric collection.
The Soulful Mandala Harmony Quilt is a testament to the beauty of detailed design and harmonious colors. Each step in creating this quilt is a journey of joy and creativity. As you finish your quilt, take a moment to admire your hard work and the beautiful patterns that now come together in a perfect symphony. Happy quilting!


