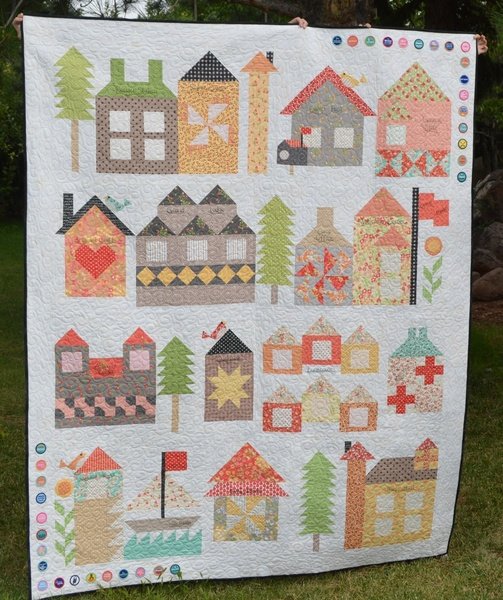
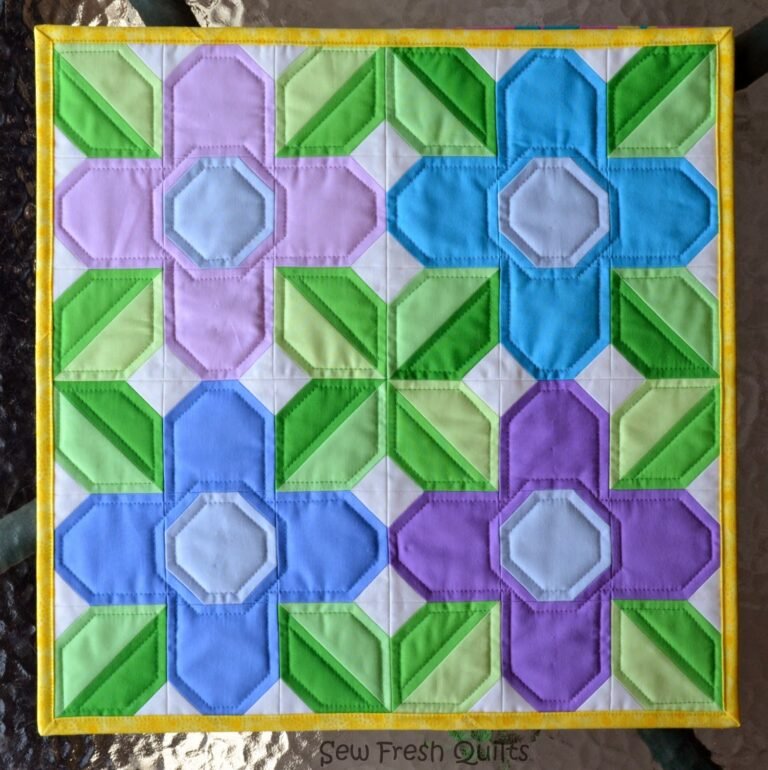
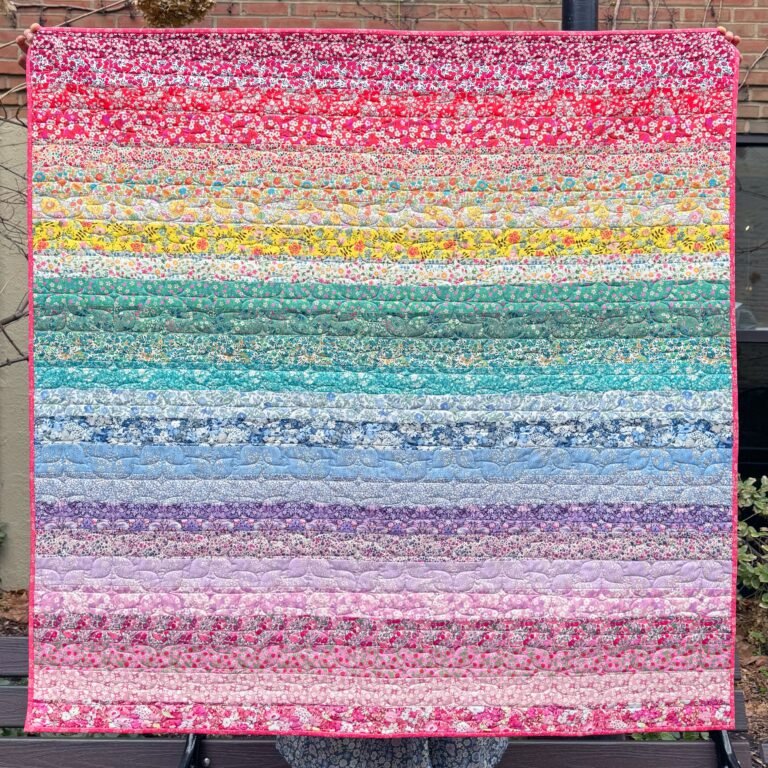
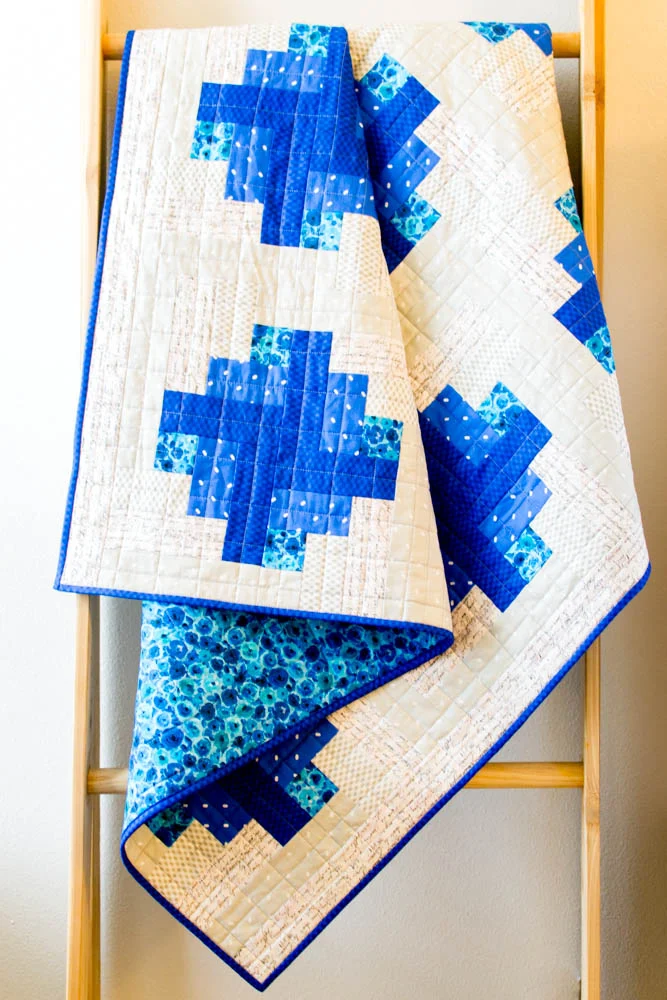
The Moda Be My Neighbor quilt is designed to celebrate the vibrant and diverse quilting community. This quilt-along features 16 unique blocks, each representing a different house in a charming neighborhood. As you work on each block, you’ll have the freedom to choose your own fabrics and colors, making your quilt truly one-of-a-kind. This project is perfect for quilters of all levels and is a wonderful way to experiment with colors and patterns.
Crafting a Colorful Neighborhood: The Heart of the Project
I remember the first time I stumbled upon a quilt-along project. It was a rainy afternoon, and I was looking for something to uplift my spirits. I found a group of quilters online, all working together on the same pattern but with their own unique spins. The sense of community and shared creativity was infectious. That’s when I knew I wanted to be part of something similar, something that brings people together through the art of quilting.
The Moda Be My Neighbor Quilt project reminds me of that first experience. It’s not just about creating a beautiful quilt but about building a community, one block at a time. In this guide, I’ll walk you through the steps to create your own Moda Be My Neighbor quilt, a delightful project that will bring both joy and connection into your life.
The Charm of Scrappy Blocks: Embracing Variety and Creativity
One of the most exciting aspects of the Moda Be My Neighbor quilt is its scrappy nature. Each block is designed to be made with a mix of fabrics, allowing you to dive into your fabric stash and use up those cherished scraps. This approach not only makes the quilt visually interesting but also adds a personal touch to each block. It’s like creating a patchwork of memories and stories.

Full Pattern: Click Here
Materials
To get started on your Moda Be My Neighbor quilt, you’ll need the following materials:
- A variety of fabric scraps in different colors and patterns
- Background fabric (you will need a total of about 5 yards)
- Batting (68 inches by 84 1/2 inches)
- Backing fabric (4 1/4 yards)
- Binding fabric (5/8 yard)
- Thread in coordinating colors
- Rotary cutter and mat
- Quilting ruler
- Sewing machine
- Iron and ironing board
- Pins or clips
Getting Ready to Quilt: Tips for Success
Before you begin, here are a few tips to ensure a smooth and enjoyable quilting experience:
- Organize Your Fabric: Sort your fabric scraps by color and pattern. This will make it easier to choose pieces for each block.
- Read Through the Instructions: Familiarize yourself with the instructions for each block before you start cutting and sewing.
- Stay Consistent with Seam Allowances: Use a consistent 1/4 inch seam allowance for all blocks to ensure they fit together perfectly.
- Press Seams Carefully: Press your seams as you go to keep your blocks flat and crisp.
- Take Your Time: Enjoy the process and don’t rush. Quilting is as much about the journey as it is about the finished product.
Step-by-Step Instructions
- Block 1 (18 inches by 18 inches)
- Cutting: Start by cutting your background and scrap fabrics according to the pattern.
- Piecing: Begin by piecing together the smaller units as indicated in the pattern, then assemble them into the larger block.
- Pressing: Press all seams flat, ensuring the block remains square.
- Block 2 (15 inches by 18 inches)
- Cutting: Cut your fabric pieces as per the dimensions provided.
- Assembly: Follow the diagram to piece together the components, starting with the smaller sections and moving to the larger ones.
- Finishing: Press seams and trim any excess threads.
- Block 3 (15 inches by 18 inches)
- Cutting: Prepare your fabric pieces.
- Piecing: Assemble the block as shown, making sure to align seams accurately.
- Pressing: Press the block to ensure it lies flat.
- Continue with Blocks 4-16: Follow the same process for the remaining blocks, referring to the specific instructions for each.
Additional Tips
- Mix and Match: Don’t be afraid to mix different fabric styles. The scrappier, the better!
- Stay Organized: Keep your workspace tidy to avoid losing small pieces.
- Join the Community: Share your progress on social media using the hashtags #modabemyneighbor or #showmethemoda to connect with other quilters.
Conclusion
Creating the Moda Be My Neighbor quilt is more than just a sewing project. It’s an opportunity to be part of a larger quilting community, to share your creativity, and to create a quilt that is uniquely yours. As you stitch each block, you’ll be building not just a quilt, but a collection of memories and connections. Happy quilting!


